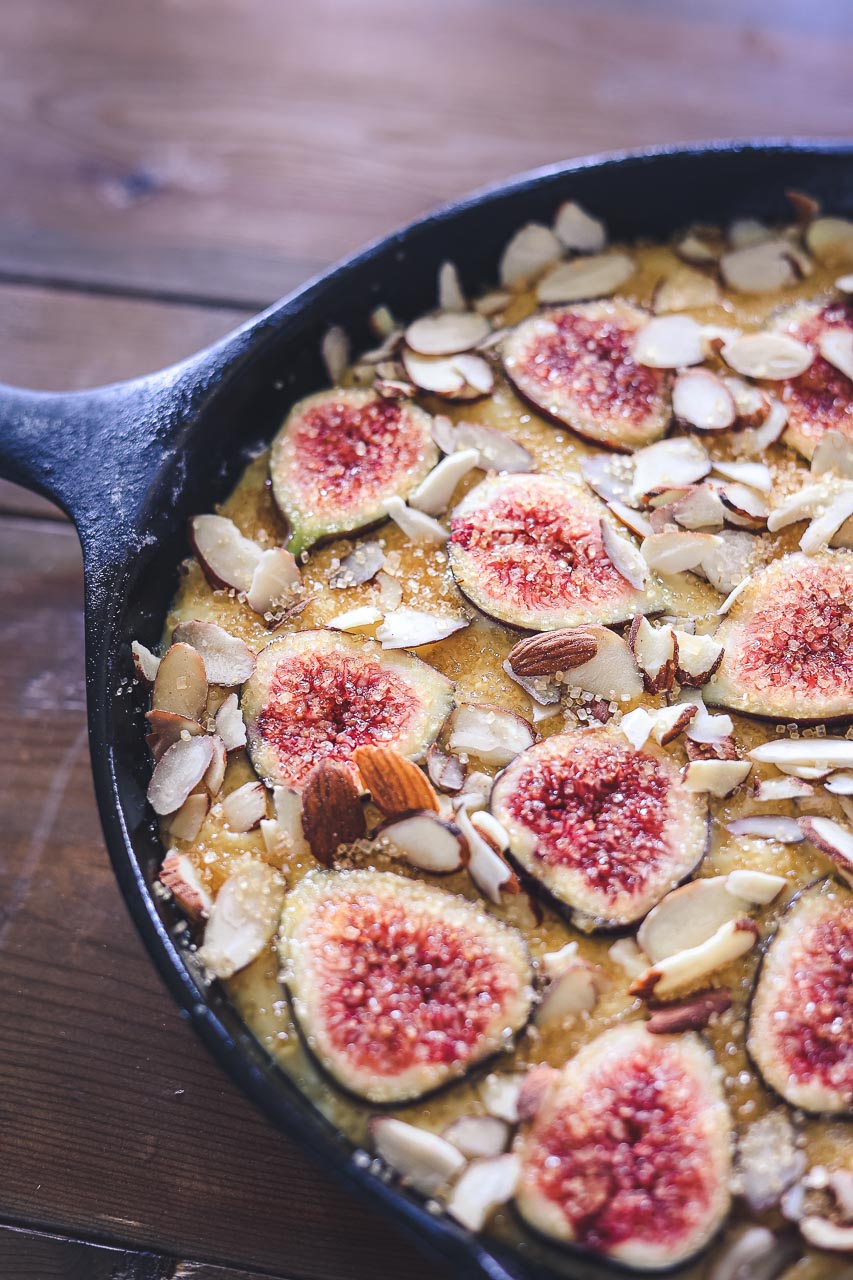
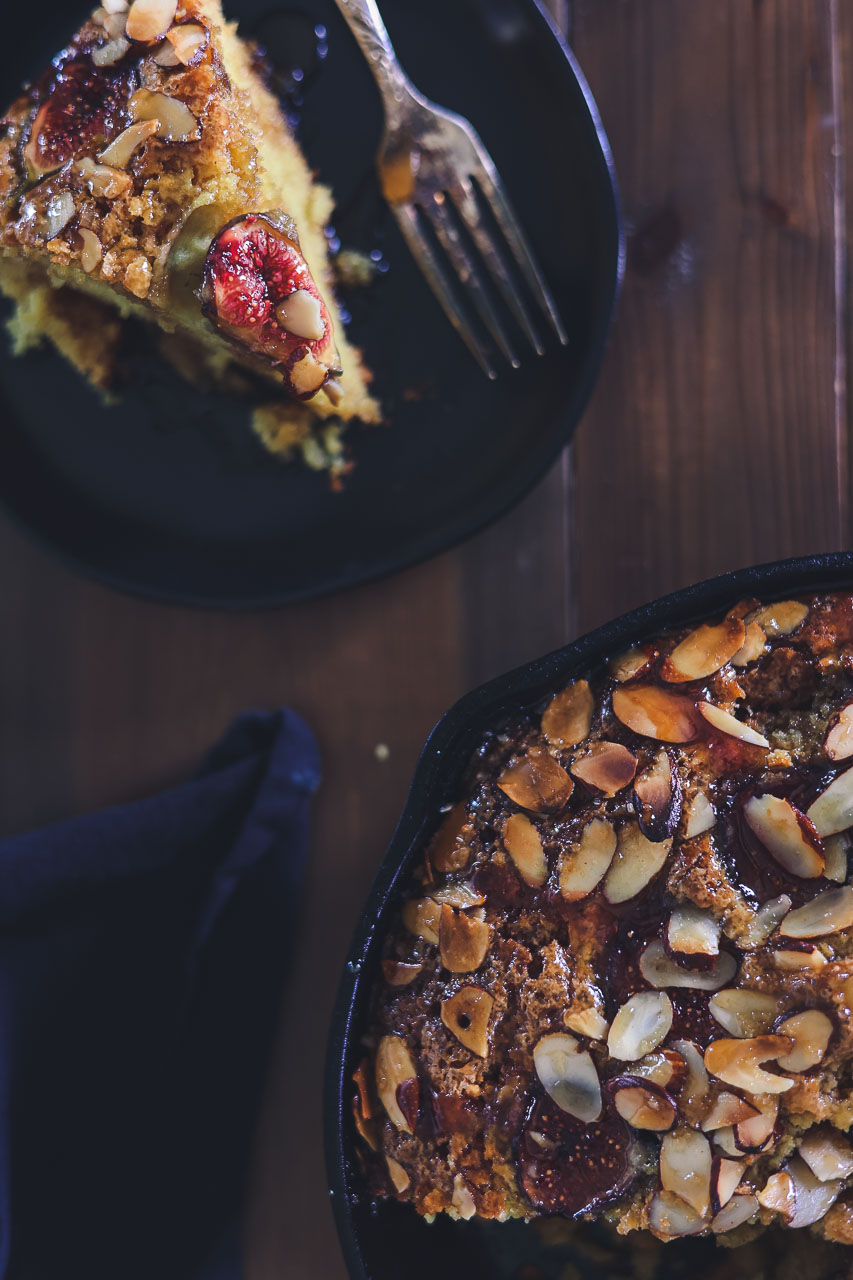
This Fig & Ginger Skillet Cake is made with figs from our backyard!
Originally Published 09/11/2021
They finally started to ripen! I wasn’t sure it was going to happen this year. They’ve stayed tiny and green for longer than usual 🤔 or maybe I’ve just been impatient lol. Our current house is built on clay and rock. There is maybe 1/4″ of topsoil at best. But both Jake and I love plants – especially plants that produce delicious fruit! 😍
So, three years ago, instead of spending a day doing back-breaking work trying to dig a hole big enough to plant one of these fig trees we bought some whiskey barrel halves. We filled the barrels with dirt and then planted two little fig trees. I don’t think I’d ever had a fresh fig until these little trees started growing them! They’re such uniquely beautiful fruits! If oatmeal were a fruit it would taste like a fig lol.
Anyways, this recipe is adapted from Joy the Baker. It’s a quick and easy skillet cake perfect for a weekend breakfast/brunch. It’s denser and not too sweet, similar to cornbread in texture! The flavor of the figs is perfect with the warmth of the ginger and the crunch of the almonds. It’s simple and good ☺️
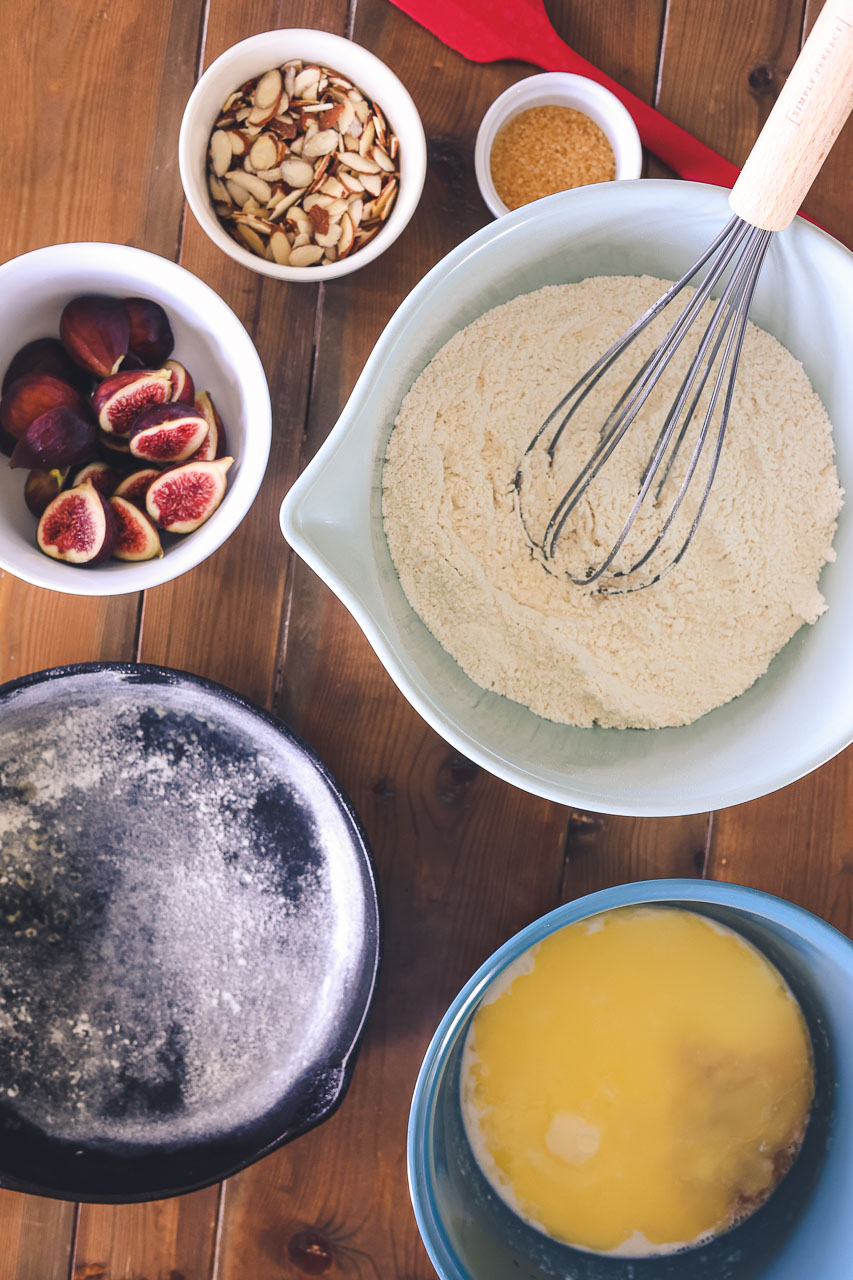
The Fig and Ginger Skillet Cake doesn’t include too many ingredients either.
You most likely have most of them in your pantry! Other than perhaps the almond slivers, figs, and buttermilk.
If you don’t have a fig tree in your backyard, they can be tricky to find at regular grocery stores. Stores like Whole Foods or Trader Joe’s should carry them though (if you’re lucky enough to live close to such a store lol)! If you can’t find figs, this cake could be topped with sliced cherries, peaches, or plums! Alright! On to making the cake! Start by preheating the oven to 375 degrees. Then oil and flour a 10″ cast iron skillet.
A 12″ skillet would also work and actually may even work better! The cake is very thick and moist (love that word 😣) and takes a while to cook all the way through! Next time I make it I’m going to try out the 12″!
But, in any case, oiling and flouring the skillet, whatever size you choose, will help your Fig and Ginger Skillet Cake not stick when you’re serving it up later!
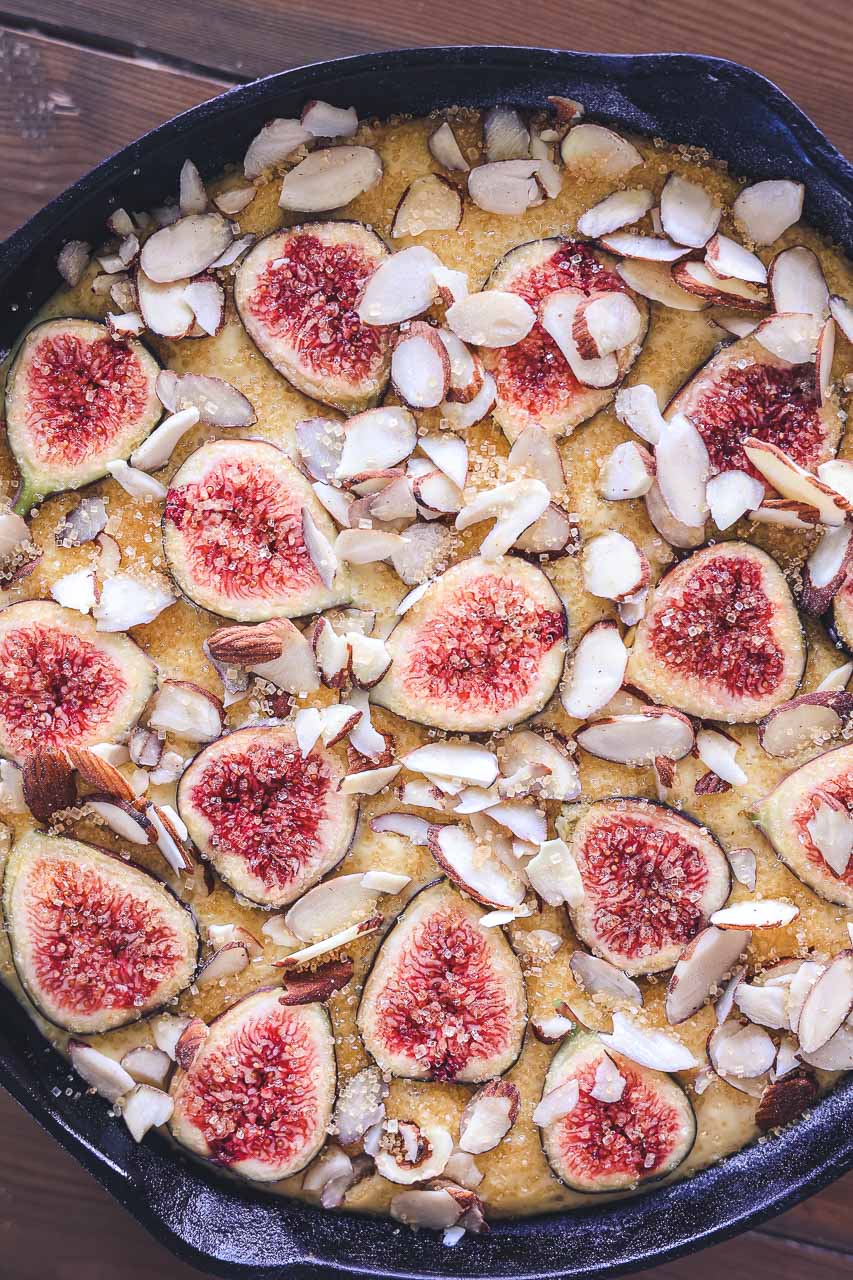
This cake is so simple, you don’t even need a mixer!
Stir together all the dry ingredients in one bowl and all the wet ingredients in another. Then pour the wet ingredients into the dry and stir until everything is thoroughly combined! I’m pretty sure Jake’s grandma, who was a fantastic cook, always had buttermilk in her fridge. She made the best homemade biscuits!
Buttermilk is not generally a staple of most people’s fridges anymore. If you go to make this recipe and don’t have any buttermilk, you can make your own at home from regular milk and lemon juice.
The ratio is for every one cup of milk, 1 tbsp of lemon juice needs to be added. So for this recipe measure out your 1 1/2 cups of milk and add to it 1 1/2 tbsp of lemon juice. Yes, the lemon juice will make the milk appear curdled. It’s ok! The cake is gonna taste great and work perfectly for this recipe! The acidity from buttermilk, or milk + lemon juice is needed to chemically react with the baking soda/powder in the recipe to help raise the cake.
After you have mixed everything, pour the cake batter into your prepared cast iron skillet and top it with the sliced figs!
Just press them gently down into the batter a little bit. Next, sprinkle the top with almonds and then with the sugar in the raw. Sugar in the raw, or turbinado sugar works best for topping this cake because as it bakes the sugar melts and hardens and creates a wonderfully crackly, crunchy finish on top when the cake is done!
I also just loved how the sugar looked sprinkled over the top of the figs! It looked like gold glitter!
After this, stick the cake in the oven and bake!
As I mentioned above, this Fig and Ginger Skillet Cake is dense.
It will take all of 45 minutes and maybe a little extra to bake through completely! Don’t be tempted to remove it early! While baking mine I was worried the edges might burn before the center was fully cooked. If yours is starting to look crispy, you can turn the oven down some and keep baking! It’s finished when a toothpick inserted into the middle comes out clean.
I felt like this cake needed a glaze.
Everything in life could use some frosting or a glaze right?!
Right after the cake goes in the oven, get out a small saucepan and combine 3/4 cup water, 1/2 cup of brown sugar, 1/2 tsp ground ginger, and 1 tbsp of orange juice. Bring these ingredients to a boil, stirring occasionally so they don’t burn, and then reduce the heat to a simmer. After the syrup has simmered for about 20 minutes, add 4 tbsp of salted butter to the mix!
The butter turns the syrup into a glaze! Now turn your burner down as low as it will go, or even move it to a smaller burner that puts out less heat and just keep it warm until the cake is finished baking!
Once the Fig and Ginger Skillet Cake is finished baking, remove it from the oven and set it on a cooling rack.
Use a toothpick or a wooden skewer and poke holes all over the top of the cake. Seems crazy I know, but it will help some of the glaze to sink into the cake! Next, pour all of the warm glaze slowly over the top of the hot cake! And that’s it! Wait for it to cool just a skosh, slice it up and breakfast is served! This cake is best served the day of, but wasn’t bad the next day either! However, by the third day, what little was left was enjoyed by my hens lol. So make sure you’ve got some friends or family to enjoy it with!
Fig and Ginger Skillet Cake
Equipment
- Measuring cups and spoons
- Two mixing bowls
- Rubber Spatula
- 10″ Cast Iron Skillet
- Small Sauce Pan
Ingredients
Skillet Cake
- 2 1/2 Cups All-Purpose Flour
- 2 tsp Baking Powder
- 1/2 tsp Baking Soda
- 1/2 tsp Salt
- 1 tsp Ground Ginger
- 1/2 Cup Sugar
- 2 Eggs
- 1 1/2 Cups Buttermilk
- 1/4 Cup Salted Butter melted
- 1 tsp Vanilla Extract
- 1/2 tsp Almond Extract
- 8 Figs sliced in half
- 1/4 Cup Almond Slivers
- 3 packets Sugar in the Raw about 3 tsp
Ginger Glaze
- 3/4 Cup Water
- 1/2 Cup Brown Sugar packed
- 1/2 tsp Ground Ginger
- 1 tbsp Orange Juice
- 4 tbsp Salted Butter
Instructions
Skillet Cake
- Preheat the oven to 375 degrees. Spray the cast iron skillet with oil and then lightly dust with flour to prevent the cake from sticking.
- In a mixing bowl, add 2 1/2 cups of flour, 2 tsp of baking powder, 1/2 tsp baking soda, 1/2 tsp salt, 1 tsp of ginger, and 1/2 cup of sugar. Whisk together until all the dry ingredients are combined.
- In a separate mixing bowl, whisk together 2 eggs, 1 1/2 cups of buttermilk, 1/4 cup melted butter, 1 tsp vanilla, and 1/2 tsp almond extract. Pour the wet ingredients into the dry ingredients and mix thoroughly until no dry ingredients remain.
- Pour the cake batter into the prepared cast iron skillet and smooth out evenly. Place the sliced figs all over the top of the batter, pressing them lightly down in. Next, pour the almond slivers all over the top of the cake. Finish by evenly sprinkling three packets (about 3 tsp) of Sugar in the Raw over the top of the cake
- Place the skillet on the middle rack of the oven and bake at 375 degrees for 45-50 mins. The cake is done when it’s golden brown and the middle is set. If you stick a toothpick in the middle it should come back out clean.
Ginger Glaze
- In a small saucepan on the stove over medium-high heat stir together 3/4 cup water, 1/2 cup packed brown sugar, 1/2 tsp ginger, and 1 tbsp of orange juice. Bring to a boil while stirring occasionally, then reduce the heat and simmer for 20 minutes continuing to stir occasionally. After 20 minutes, add 4 tbsp of butter. Once the butter has melted in turn the heat to as low as it will go just to keep the glaze warm.
Finish and Enjoy!
- Once the Fig & Ginger Skillet Cake has finished baking, remove it from the oven and place the pan on a cooling rack. Use a toothpick or wood skewer to poke holes all around the cake. While it is still fresh out of the oven, pour the hot Ginger Glaze all over the top of it allowing it to soak in.
- Serve warm with a cup of coffee or tea and enjoy with friends!
Affiliate Information
As a part of the Amazon Affiliate program, I have the opportunity to share products and items that I genuinely find useful or interesting. When you come across links to these products on my blog, they're not just recommendations based on my personal experience or research; they also serve a dual purpose. If you decide to click on these links and make a purchase, I earn a small commission from Amazon at no additional cost to you.
This setup helps me to keep generating content that you find helpful and engaging, without bombarding you with irrelevant ads or sponsors. It's a win-win situation: you discover products that could add value to your life, and I get a little support to continue doing what I love. Rest assured, the integrity of my recommendations remains my top priority. I only share links to items that I believe in, and that I think could make a difference for you.
Thank you for your support and understanding. Your trust means the world to me, and I'm committed to maintaining transparency about how I fund my blog. If you have any questions about the Amazon Affiliate program or how it works, feel free to reach out.
©️ 2025 Austin Claire Photography | Template by Maya Palmer Designs | ©️ Photos by Austin Claire Photography| Privacy Policy | Terms
