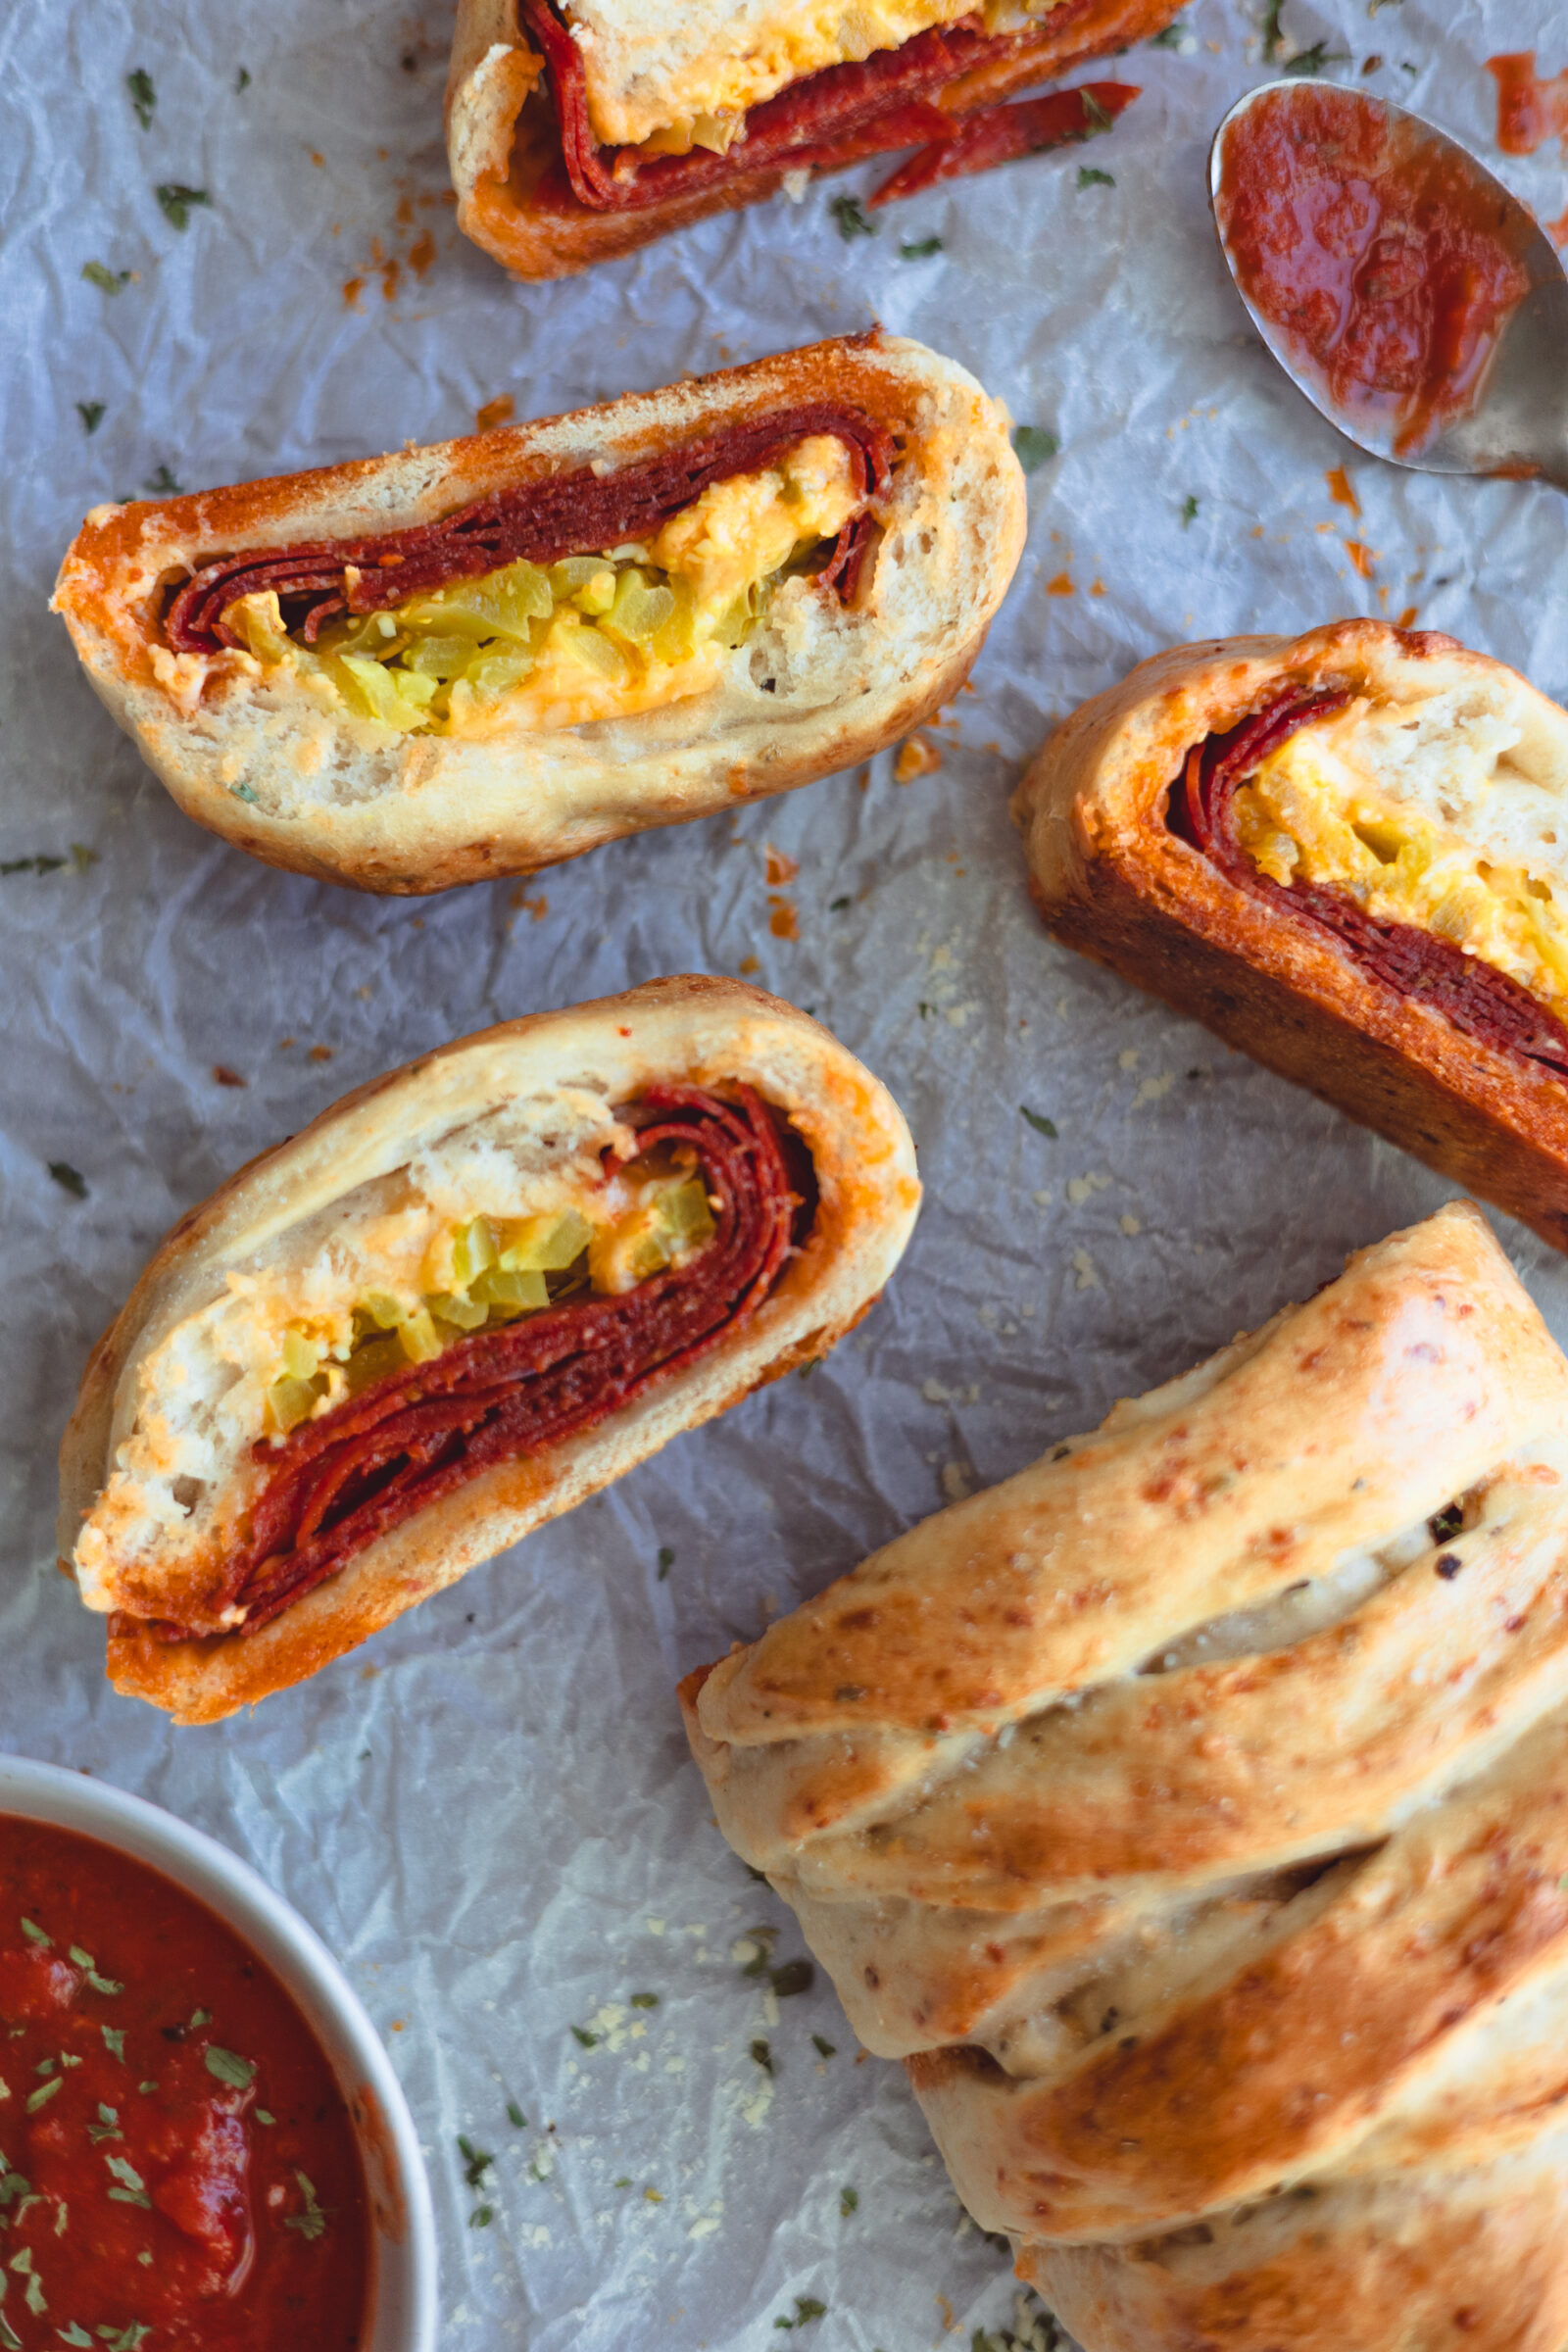
I love Stromboli…
Originally Published 06/26/2021
What’s not to love!? Stromboli is basically pizza but wrapped in bread, which I am also very fond of 😂! Plus, you get to dip it in marinara, like a breadstick, and who doesn’t love dipping!?
Side note: Maybe you’re wondering what the difference between a Stromboli and a calzone is. Calzones contain all the pizza toppings plus the sauce, whereas a stromboli is just the toppings and you leave the sauce out!
The first time I ever ate homemade Stromboli was here in Tennessee at my best friend’s house. I went over to have dinner with her and her family. She got these two huge loaves of bread out of the oven. They were golden, gorgeous, and steaming hot! To my surprise, when she sliced them open they were filled with delicious pepperoni, & melty cheese 😍. Heaven in a loaf of bread. I’ve been a fan ever since!
My husband and I have tried all sorts of flavor combinations, but our favorite is pepperoni and banana pepper! The recipe below makes two large strombolis, enough to feed a family of four. Or maybe just two hungry adults lol. Anyway on to the recipe!
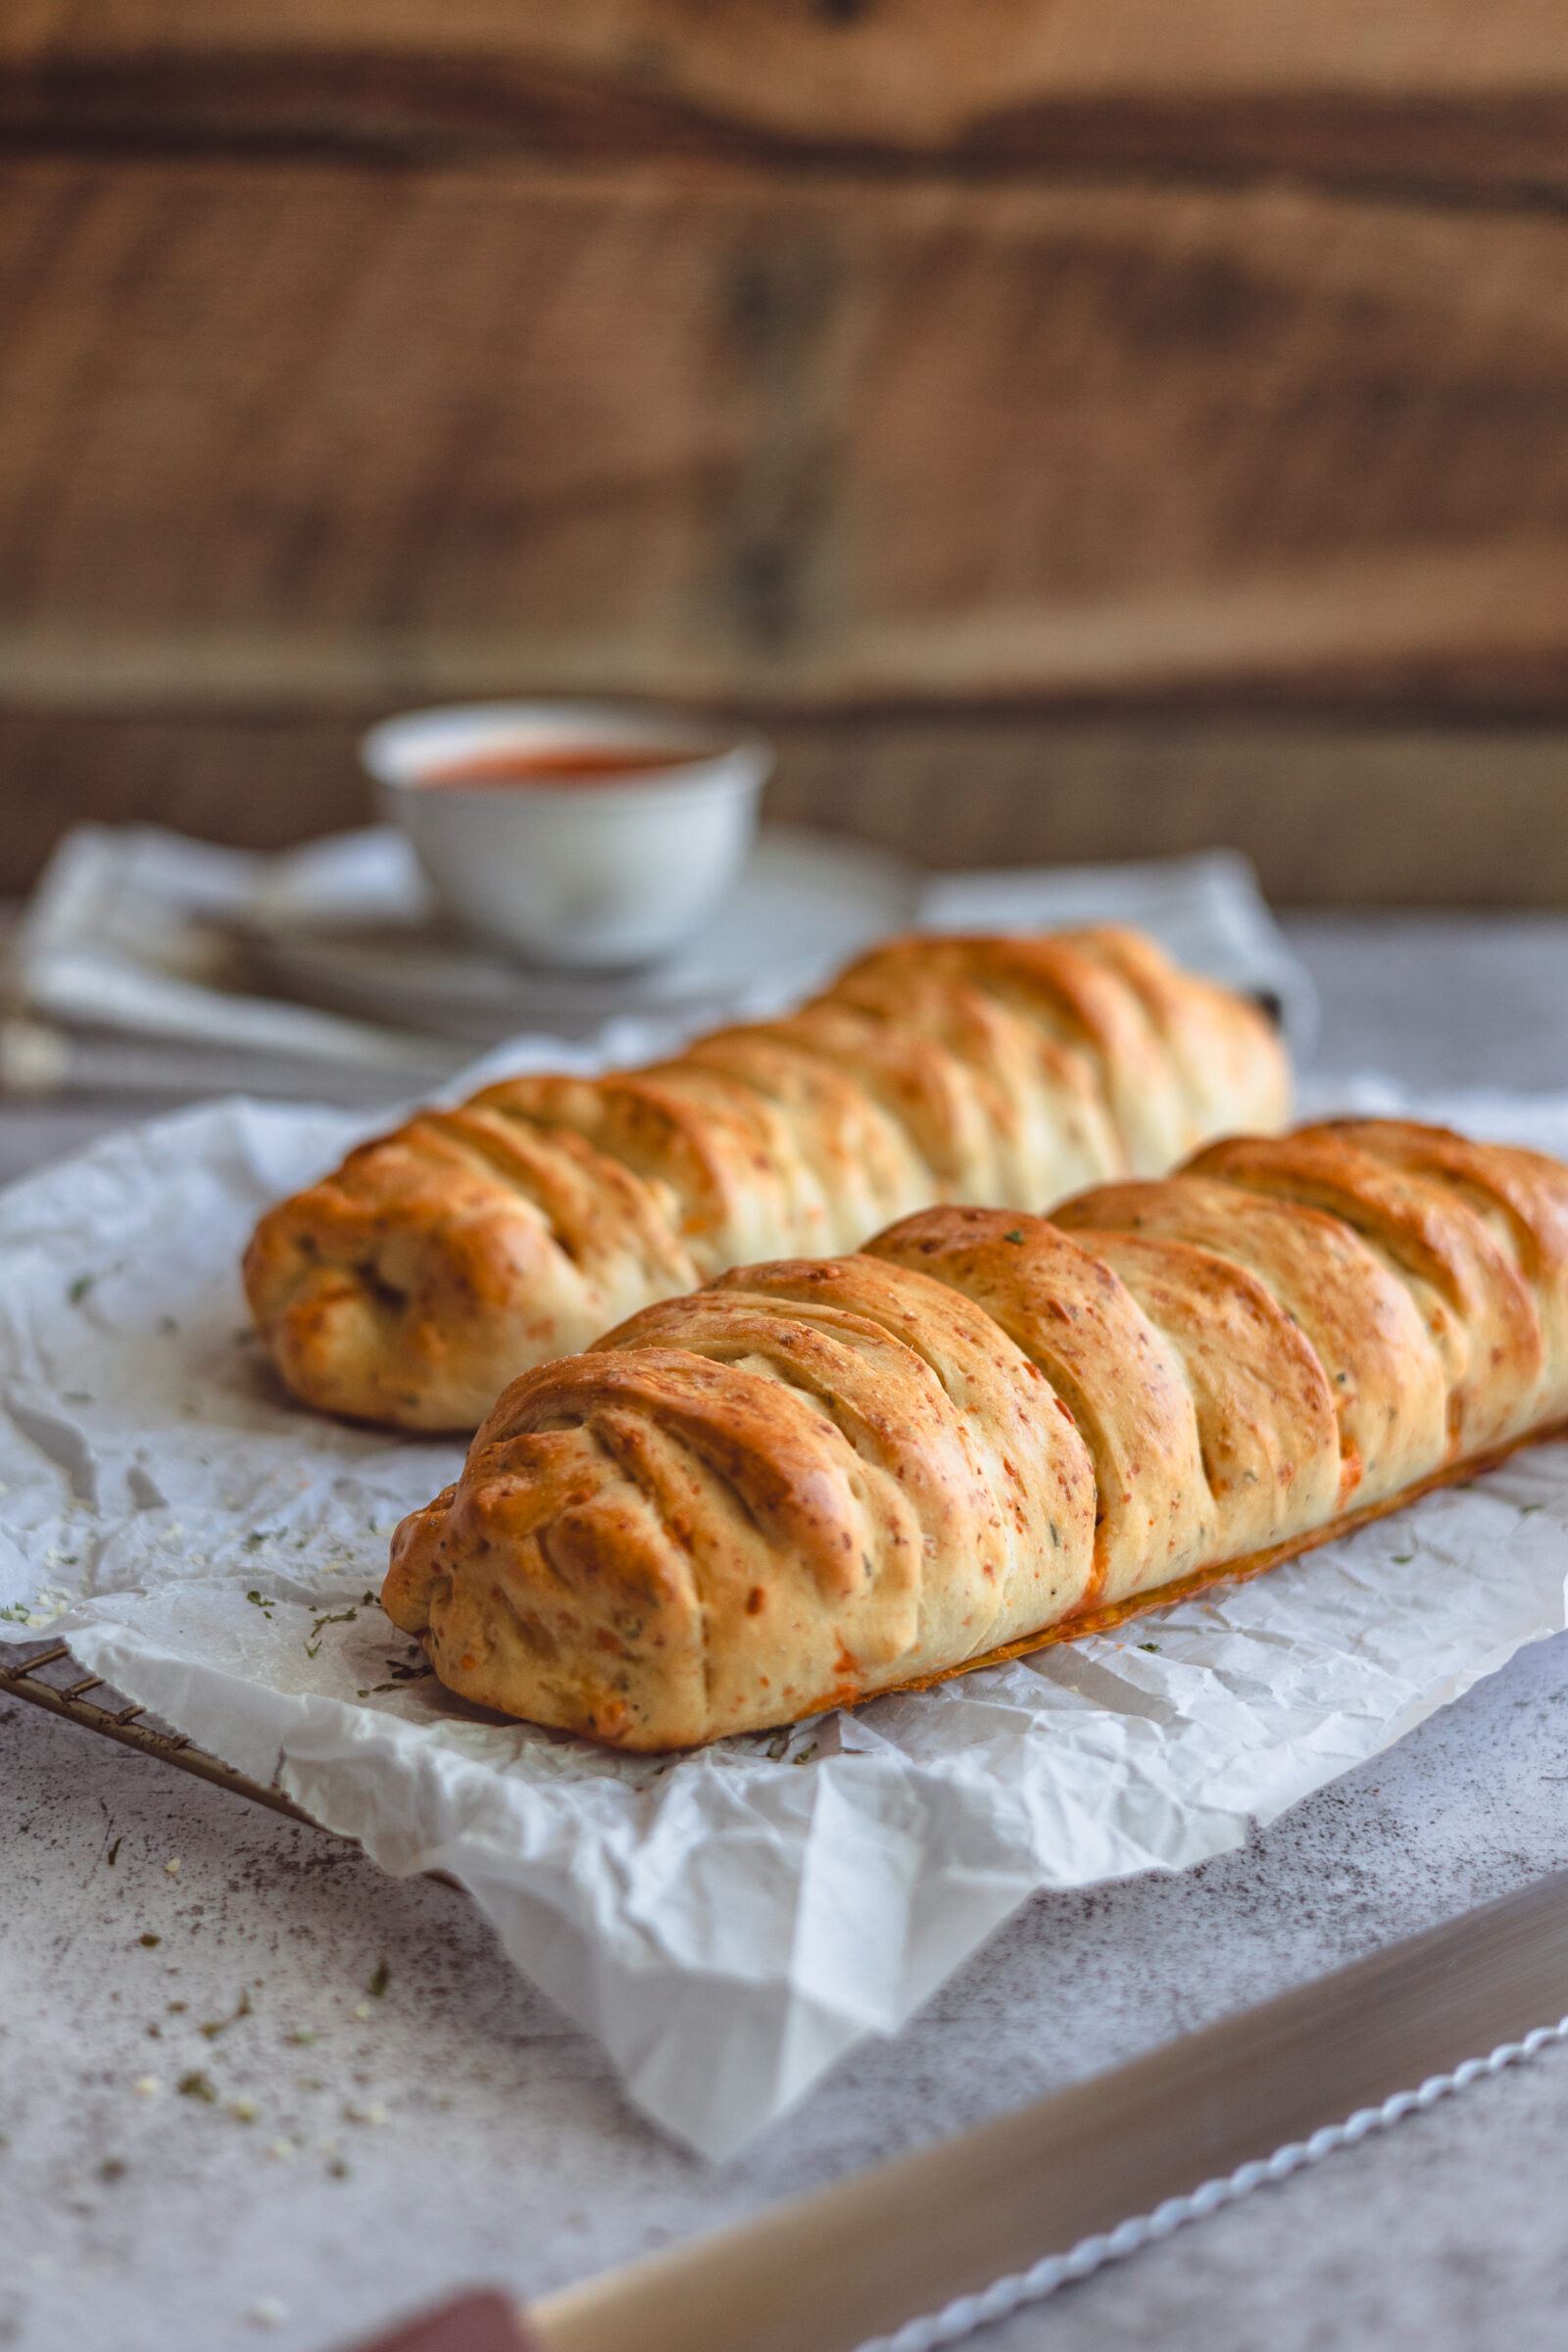
The homemade Stromboli crust might look intimidating, but don’t be scared.
The dough is easy to work with and there is no actual braiding involved!
So, start out by adding 1 cup of warm water to your Kitchenaid Mixer fitted with the dough hook, then add the tsp of sugar and the 1 1/2 tsp of yeast. The yeast needs to sit for a few minutes to activate. After that though, you can add in olive oil, parmesan, Italian seasoning, garlic powder, and pepper. As far as parmesan goes, you want to use superfine powdered stuff like kraft.
If you don’t want to add in parmesan at all, leave it out and simply add in 1/4 cup more flour. Give all the spices a swirl and then pour in the flour and salt. Let the dough hook knead everything together for 5 minutes or so until the bread dough looks smooth. The dough shouldn’t be super sticky. It’s a lot trickier to work with when it’s gooey, so if you need to, you can add a little more flour. Once it’s ready, place the ball of dough in a lightly oiled bowl, cover it with plastic wrap, and let it rise for 45 minutes.
After the Stromboli dough has risen,
it’s time to roll it out and fill it!
This recipe makes two loaves, so divide your dough in half. You can either eyeball it, or use a kitchen scale to weigh and measure if you want to be more exact.
Take the first piece of dough and roll it out into a 13″x6″ long rectangle. I have granite countertops and the dough doesn’t stick so I have never needed to flour the countertop. If the dough seems to be sticking though, lightly dust the countertop with flour before rolling out the stromboli.
After you’ve rolled the dough out, layer all of your toppings down the middle leaving a good 2-3″ margin down either side. I like to start with mozzarella, then pepperoni, and banana peppers, and finish with more cheese. The cheese will melt while it’s baking and hold everything together! I know not everyone is a fan of banana peppers, feel free to put whatever you’d like inside your own stromboli creations! Just don’t fill them too full or you won’t be able to close them up! Once the stromboli is filled with ingredients it’s time to “braid” them in!
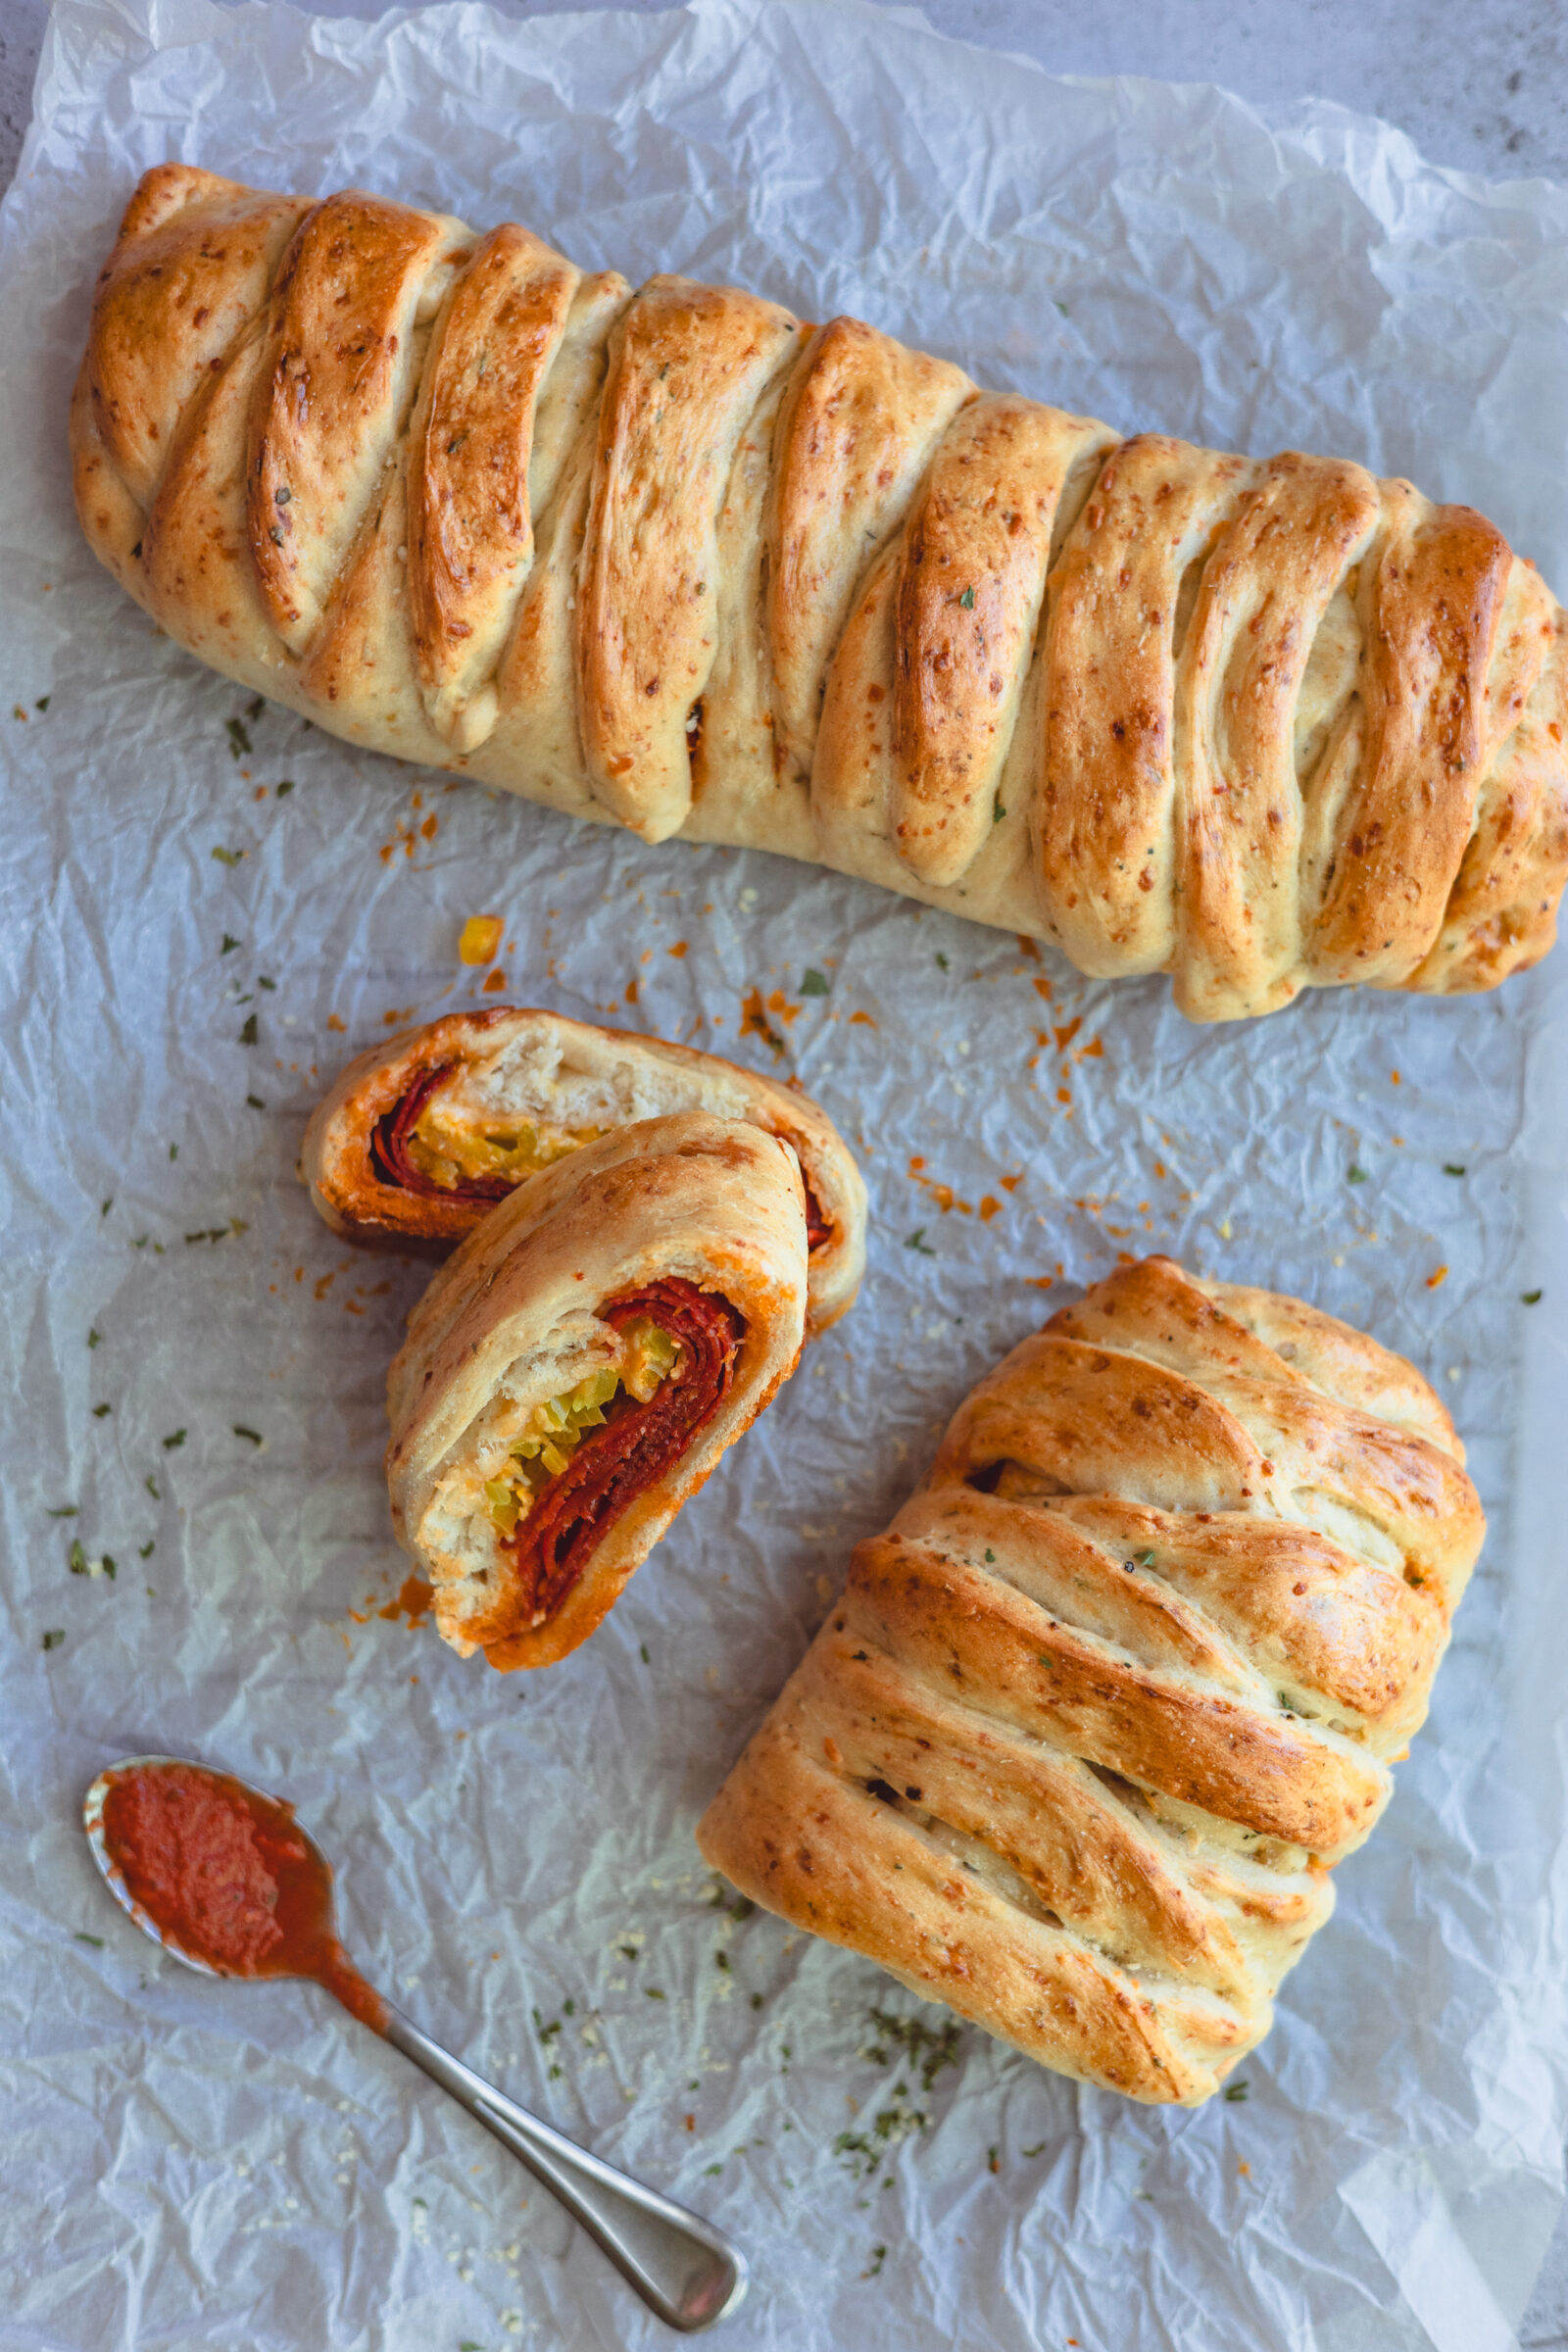
The Stromboli braid…
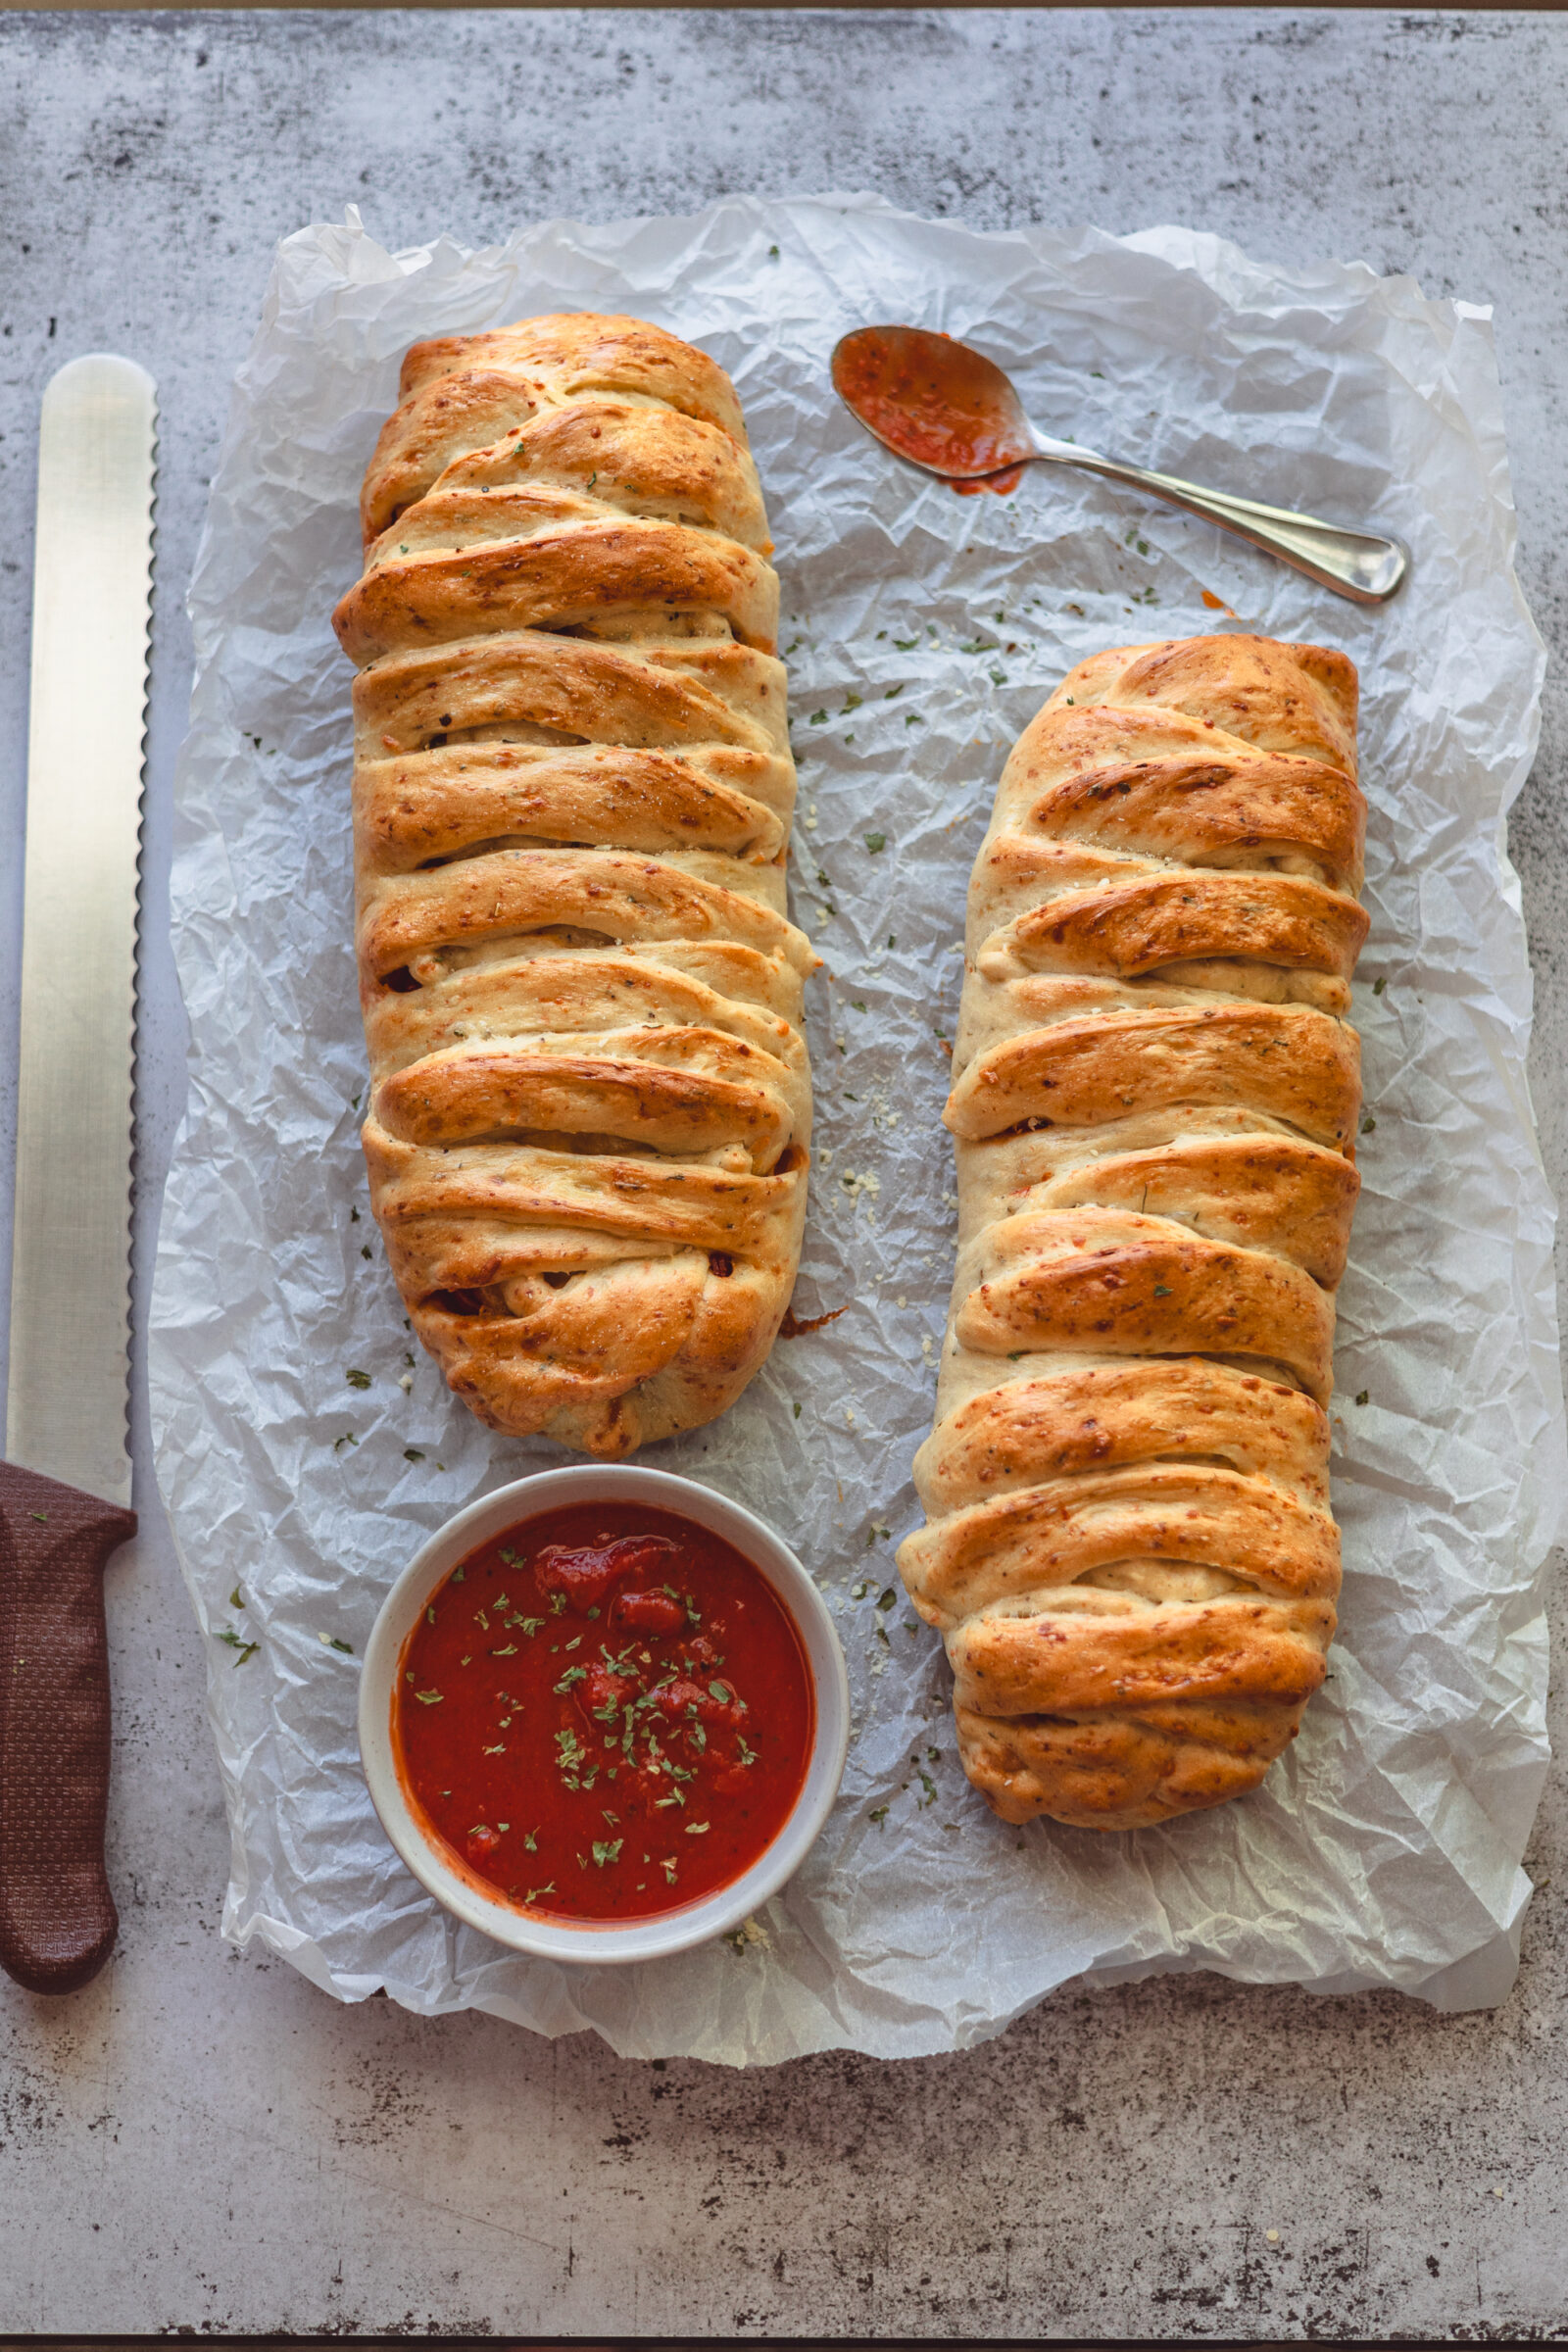
Start by making cuts down both sides of the stromboli dough. Keep them about 1″ in width and make sure you’ve got equal cuts down both sides, i.e. if you’ve got 10 on one side make sure there is 10 on the other!
Start at the top of the loaf fold the end section over and cross the first two slices over each other.
Continue folding one side and then the other over each other all the way down to the bottom. Finish by tucking the end flap of dough in too. Check out the video above for help! You don’t want to pull too hard on the strips of dough stretching them out and making them too thin. The less you fuss with the dough, the better it will rise!
Honestly, my husband is way better at this part. We will each braid one and his stromboli always looks so much prettier! He’s more particular and gentle about it I guess. Don’t worry too much about it, it takes practice to make it look pretty. And, at the end of the day, you just need the dough to hold in the filling!
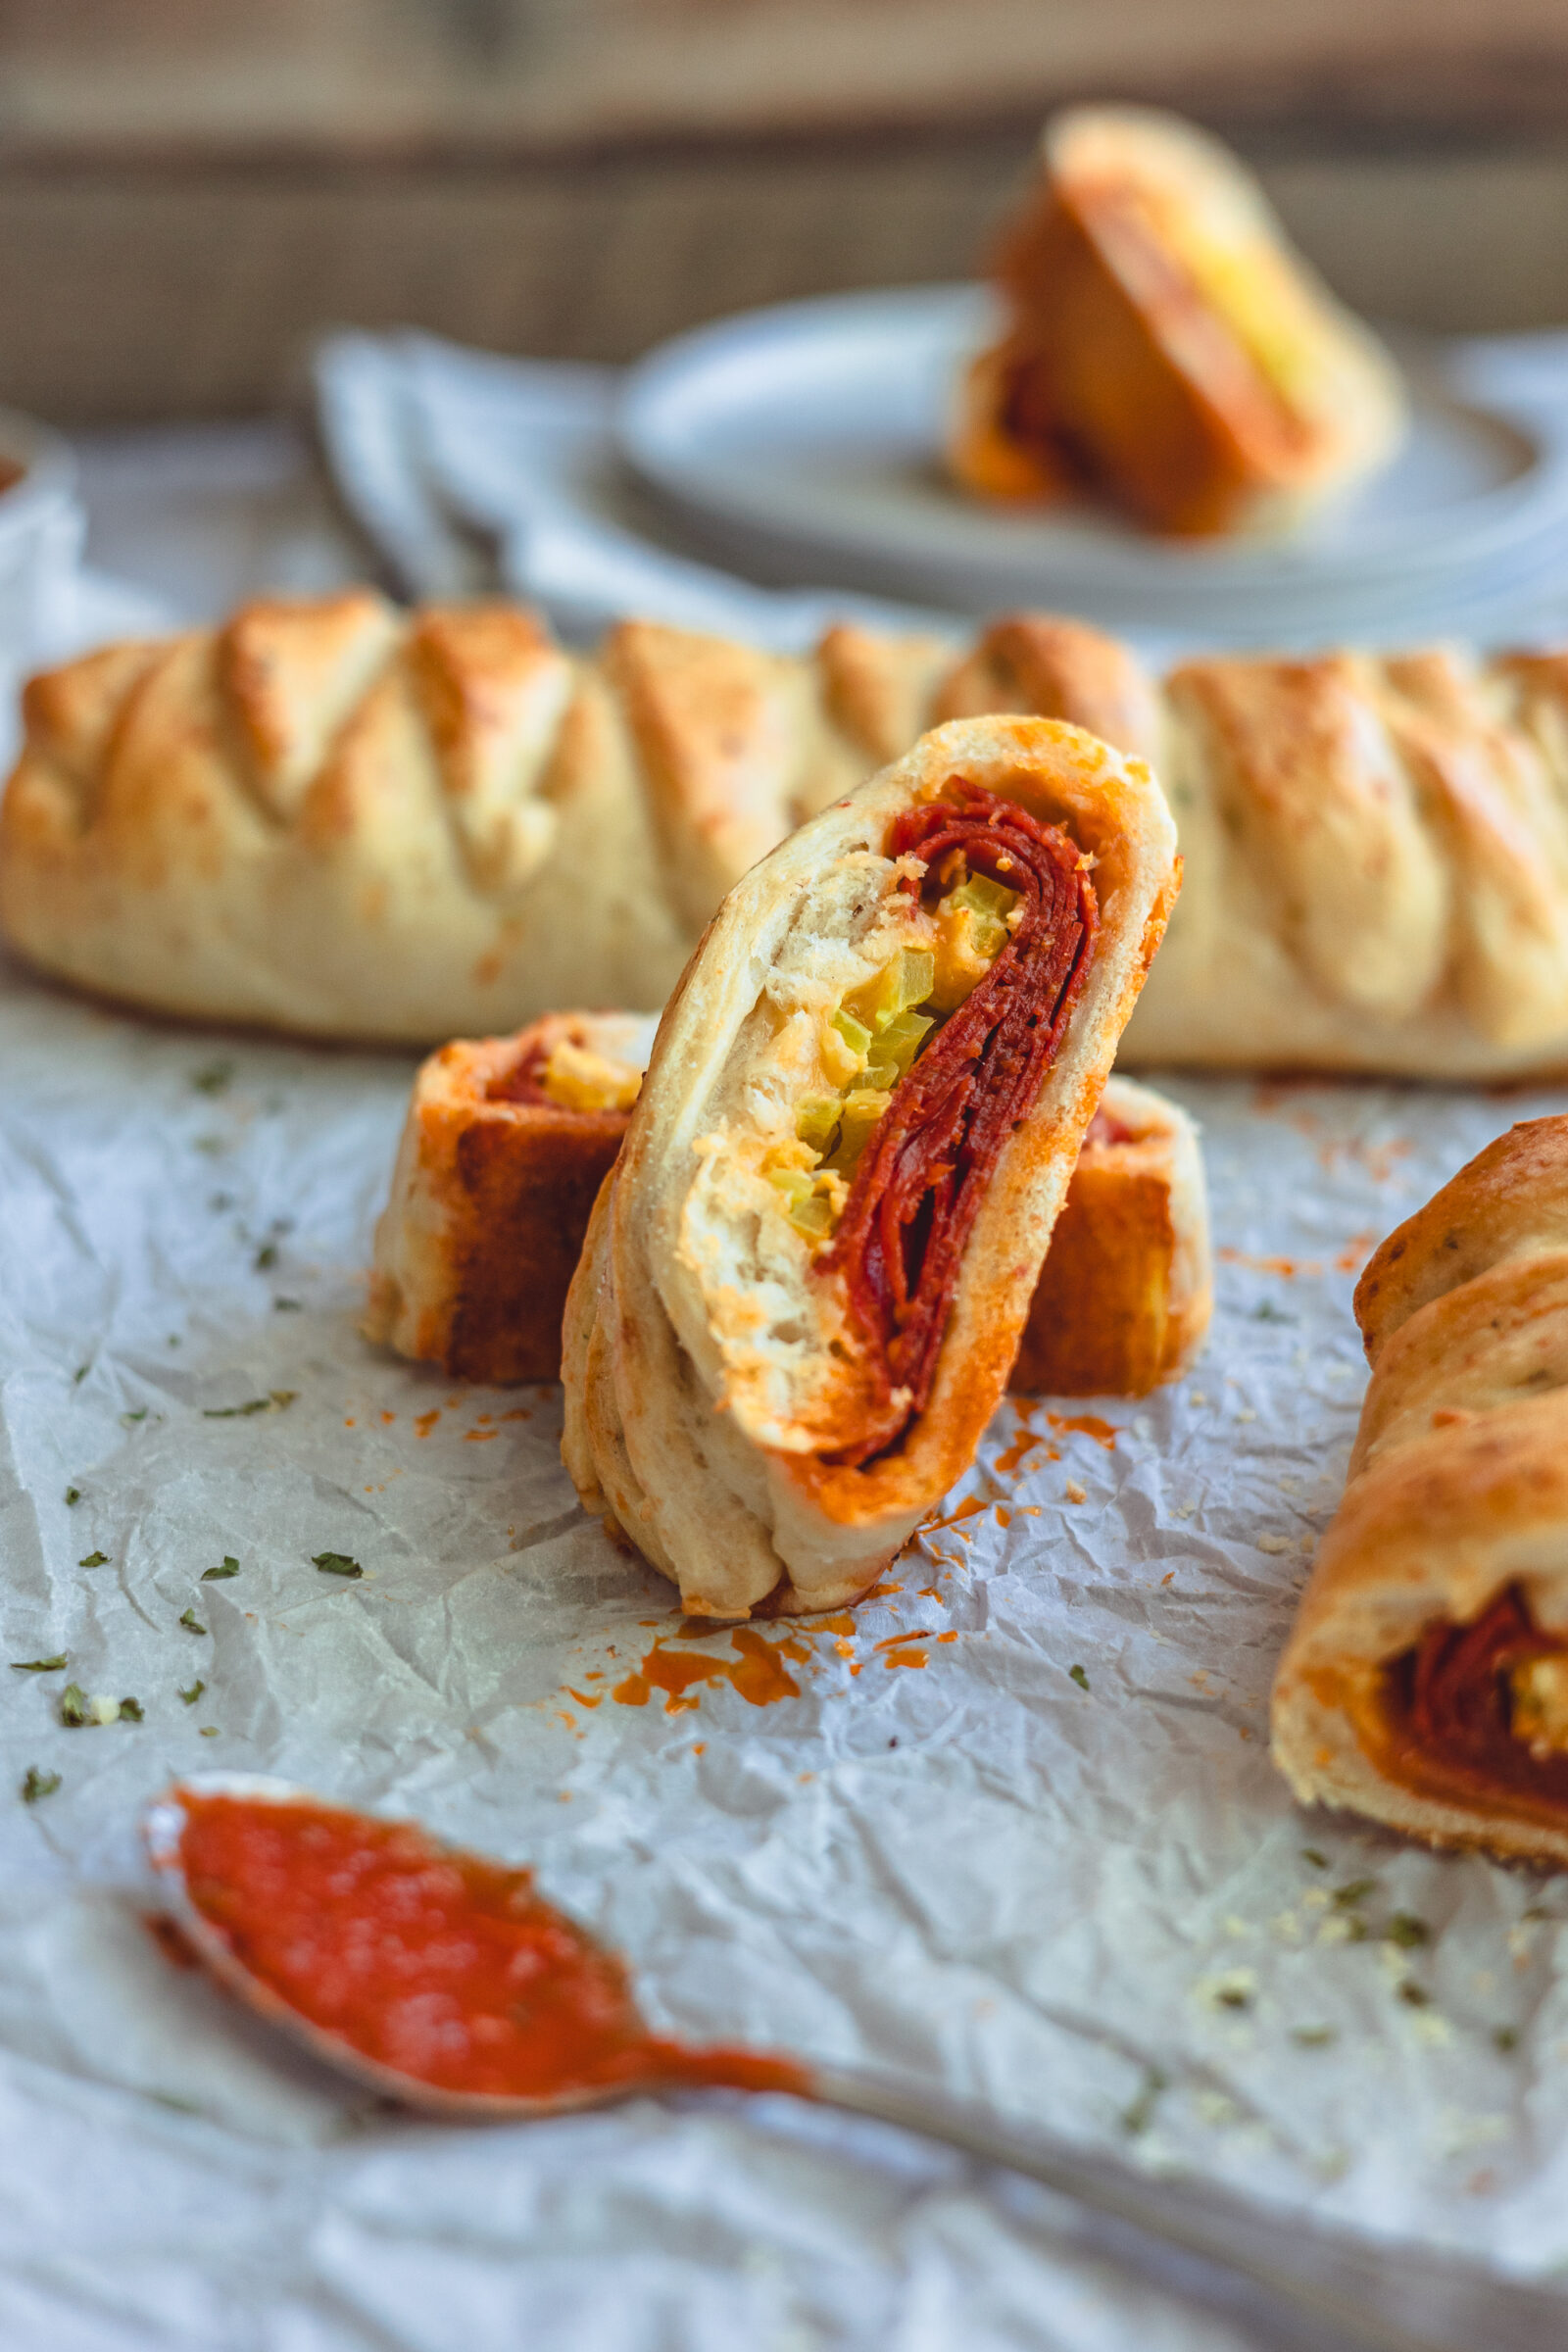
Once you’ve braided both Strombolis,
place them on a baking sheet lined with lightly oiled parchment paper.
Mix an egg with 1 tbsp of water and give them a little egg wash. This will help hold the braiding together and give them a nice golden brown color and shine once they’re baked!
Lightly cover the strombolis with plastic wrap and let them rise for another 20-40 minutes while the oven preheats to 375°. If you let them rise for 20 minutes, they will have a thinner crust. If you let them rise for 40 minutes, they will have a thicker, more bready crust. It’s up to you! After this, pop these babies in the oven on the middle rack and bake them for 20-30 minutes.
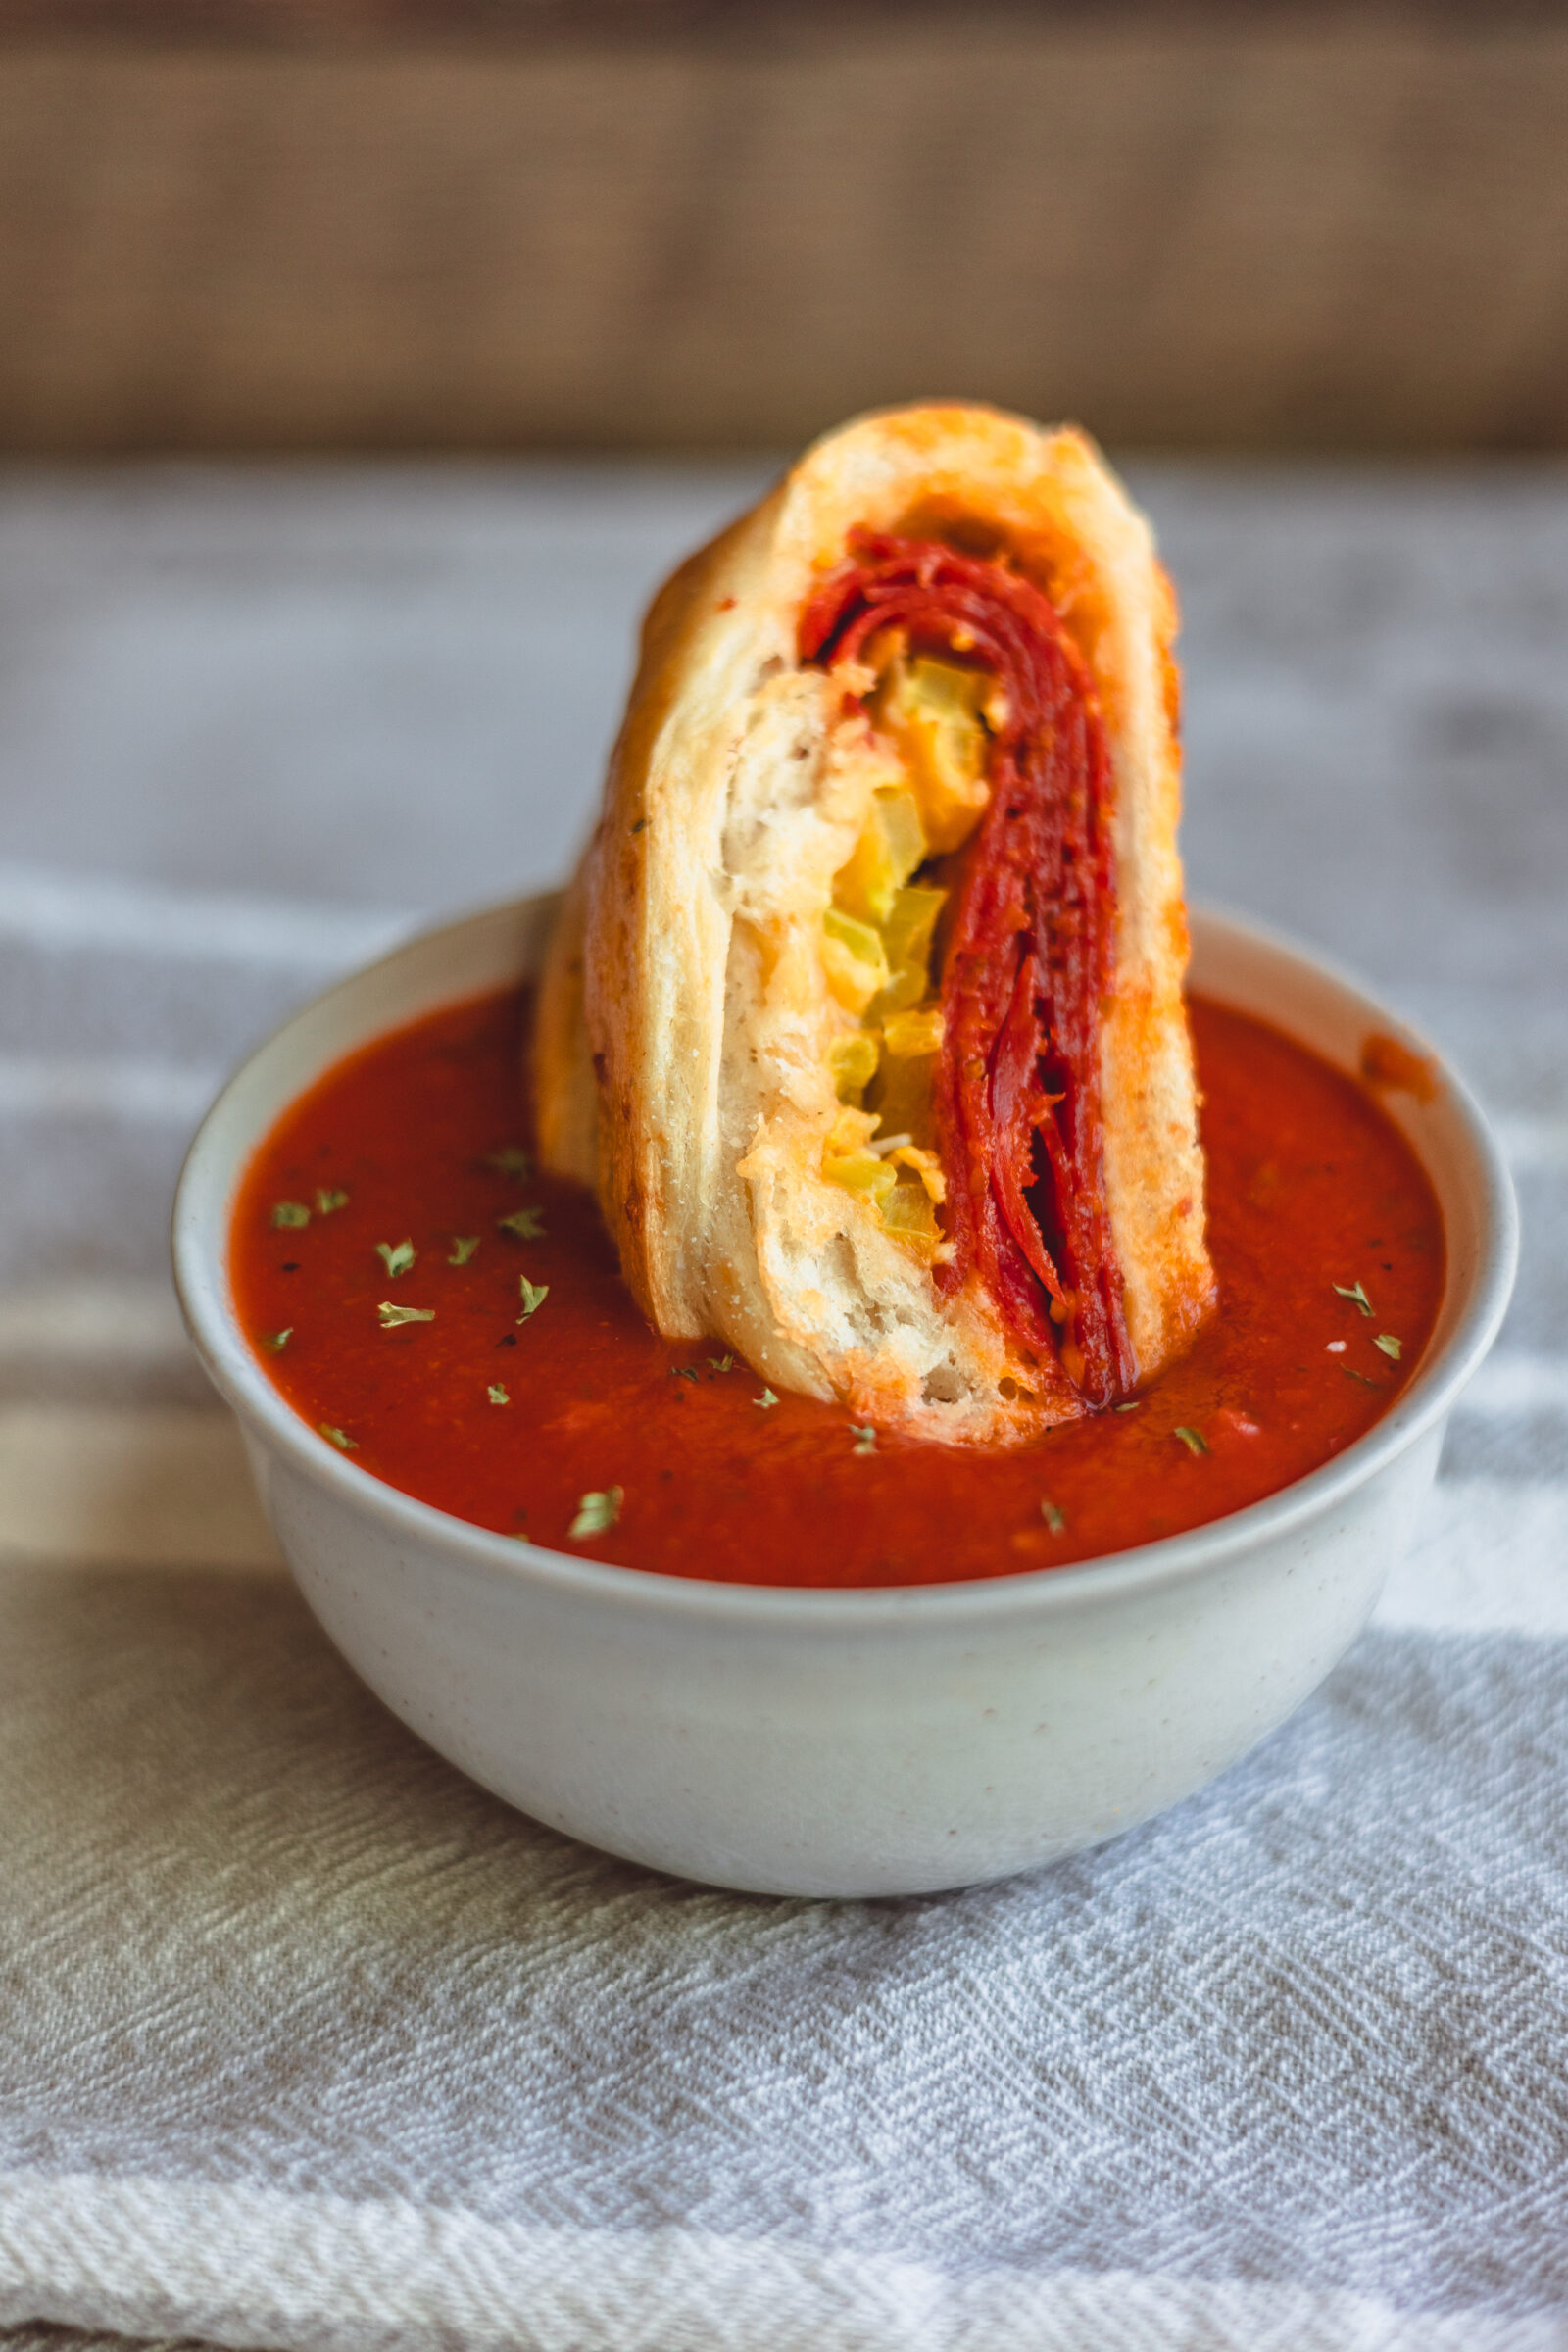
The Stromboli should be risen and golden brown when they’re finished baking!
Pull them out of the oven and let them cool a little on a cutting board before diving in! As soon as you can comfortably touch them without burning yourself, slice the stromboli up and serve with a side of marinara! Every year I like to can my own Roasted Garlic & Basil Marinara! It’s delicious and our favorite sauce to eat these strombolis with!
That’s it! You’ve officially made your own delicious, beautiful strombolis! If you gave this recipe a shot, let me know how it went and what you think!? Thanks, as always, for reading!
Pepperoni Stromboli
Equipment
- Kitchenaid Mixer with Bread Hook
- Measuring Cups & Spoons
- Large bowl
- Baking Sheet
- Parchment Paper
Ingredients
Stromboli Dough
- 1 Cup Water warm
- 1 tsp Sugar
- 1 1/2 tsp Yeast
- 2 tbsp Olive Oil
- 1/4 Cup Parmesan Kraft Grated
- 1 tsp Italian Seasoning
- 1/2 tsp Salt
- 1/4 tsp Garlic Powder
- 1/8 tsp Pepper
- 2 3/4 Cup Bread Flour
Filling
- 3.5 oz Package Pepperoni
- 16 oz Log Fresh Mozzarella
- 2 Cups Colby Jack shredded
- 1 Cup Mild Banana Pepper Rings
- 2 tbsp Fresh Basil & Oregano minced optional
- 1 Egg + 1tbsp water egg wash
- 1 Jar Marinara
Instructions
Stromboli Dough
- In your Kitchenaid Mixer fitted with the dough hook attachment, pour in 1 cup of warm water, 1 tsp of sugar, and sprinkle 1 1/2 tsp of yeast over the top. Let it sit for 5 minutes.
- Once the yeast has finished proofing, add in 2 tbsp of olive oil, 1/4 cup parmesan, 1 tsp Italian seasoning, 1/4 tsp of garlic powder, 1/8 tsp of pepper, and give the ingredients a quick swirl with the bread hook.
- Next, add in the 2 3/4 cup of bread flour and the 1/2 tsp of salt. Knead with the bread hook on medium-low speed until the dough comes together and is smooth for around 5 minutes. The dough shouldn’t be sticky. If it is add in up to 1/4 cup more bread flour.
- Remove the dough from the mixing bowl and place it in a lightly oiled bowl, cover it with plastic wrap, and let it rise for 45-60 minutes.
Assemble & Bake
- Line a baking sheet with parchment paper, and lightly grease it.
- Divide the risen dough into two equal pieces. Roll each piece of dough out into a 13″x6″ rectangle. Then place the sliced, fresh mozzarella down first, followed by the pepperoni, banana peppers, fresh herbs, and topped off with Colby jack cheese.
- Cut 1″ slices down both sides. Fold the ends over the top of the filling and criss-cross the side strips over the top of each other all the way down the stromboli, covering the fillings.
- Mix 1 egg with 1 tbsp of water and egg wash the top of each stromboli. Cover lightly with plastic wrap and allow to rise for another 30-45 minutes. Preheat the oven to 375 degrees.
- After this, place the stromboli in the oven on the middle rack and bake at 375 for 20-30 minutes. The stromboli should rise and turn a beautiful golden brown color when it’s done baking.
- Remove from the oven and place on a cutting board. Allow to cool 5-10 minutes, then slice and serve with marinara to dip it in! Enjoy!
Affiliate Information
As a part of the Amazon Affiliate program, I have the opportunity to share products and items that I genuinely find useful or interesting. When you come across links to these products on my blog, they're not just recommendations based on my personal experience or research; they also serve a dual purpose. If you decide to click on these links and make a purchase, I earn a small commission from Amazon at no additional cost to you.
This setup helps me to keep generating content that you find helpful and engaging, without bombarding you with irrelevant ads or sponsors. It's a win-win situation: you discover products that could add value to your life, and I get a little support to continue doing what I love. Rest assured, the integrity of my recommendations remains my top priority. I only share links to items that I believe in, and that I think could make a difference for you.
Thank you for your support and understanding. Your trust means the world to me, and I'm committed to maintaining transparency about how I fund my blog. If you have any questions about the Amazon Affiliate program or how it works, feel free to reach out.
©️ 2025 Austin Claire Photography | Template by Maya Palmer Designs | ©️ Photos by Austin Claire Photography| Privacy Policy | Terms
